I’ve posted a small new gallery. A short study of light playing on the white walls of the unusual geometry of the Denver Art Museum.
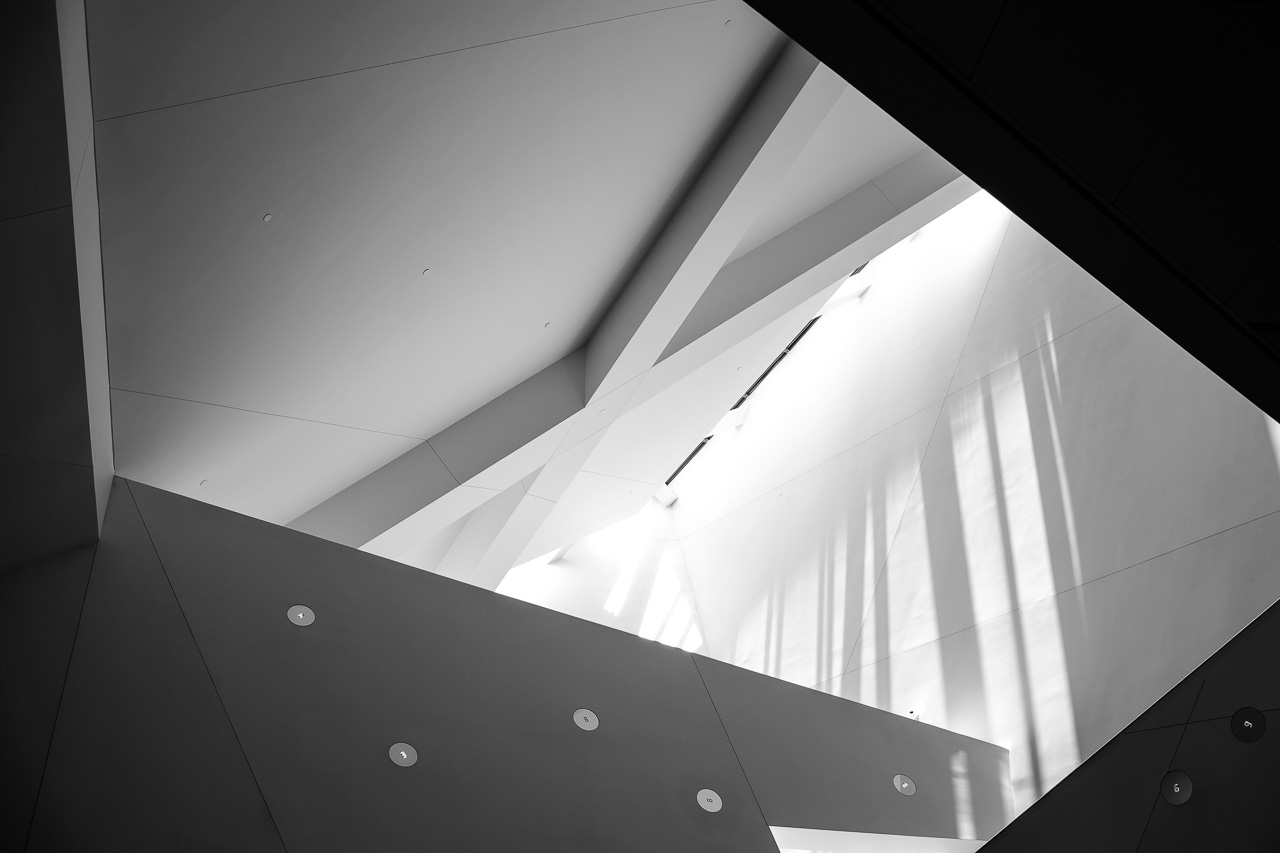


— Steve
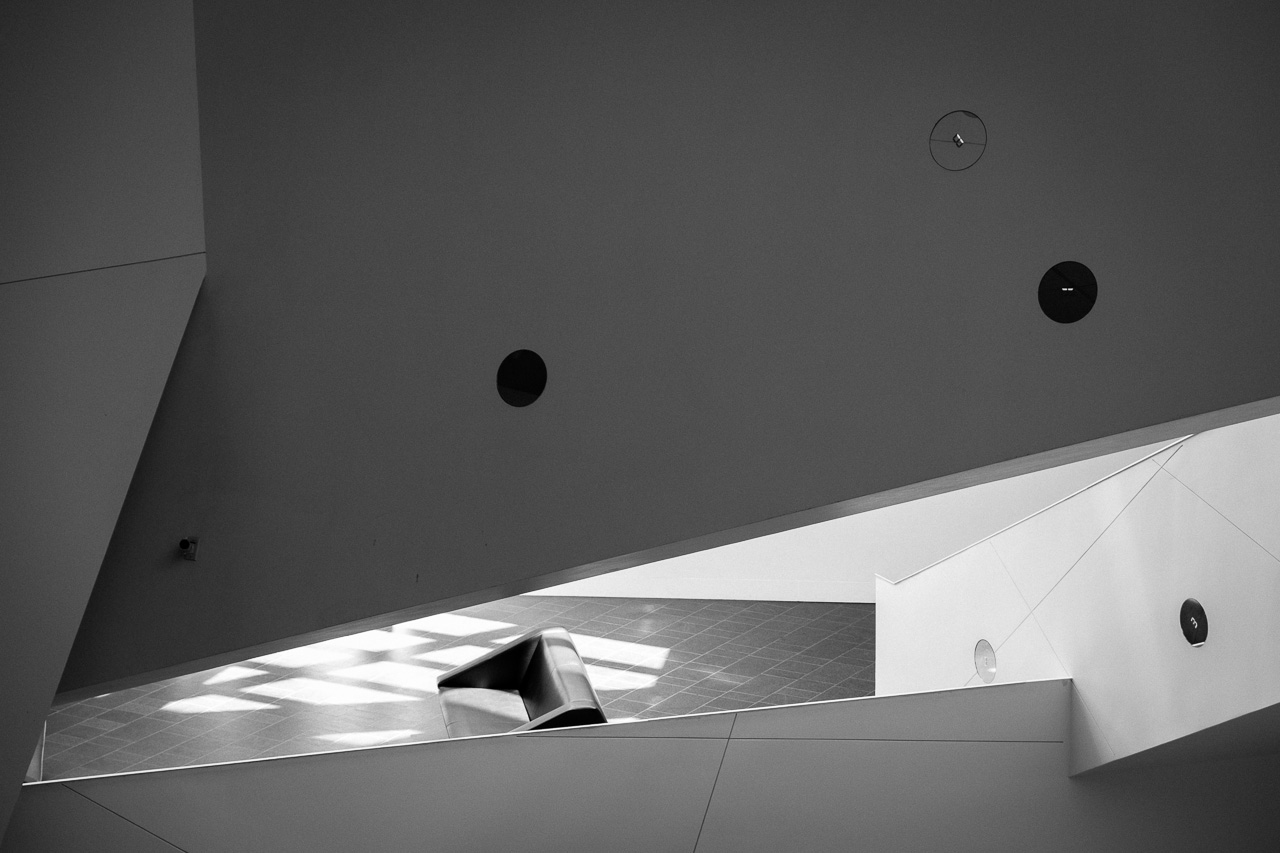
I’ve posted a small new gallery. A short study of light playing on the white walls of the unusual geometry of the Denver Art Museum.
— Steve
Ever since I bought the Fujifilm X-E1 I have been holding out for the promised 23mm f/1.4 and 56mm f/1.2 prime lenses. I already have the 35mm f/1.4 lens, and it is fantastic. These three lenses together would cover almost every situation I normally want to photograph[1]. And if the 35mm lens and the ultra-wide 14mm f/2.8 are any indication they would be optically excellent.
Unfortunately, it appears that designing lenses isn’t easy, and the fast primes have been pushed back from their earlier schedule. According to an updated roadmap published by Fujifilm the 23mm, which was planned for the first half of this year, is now supposed to be available near the end of the year instead, and the 56mm is supposed to be available early in 2014.
A big part of the reason I chose the X-E1 over the Sony NEX-7, which I almost bought, was the lenses (the other major part was a set of traditional controls). Fuji’s initial lens releases were very good, and their roadmap was very exciting to someone who prefers fast primes[2]. Sony didn’t, and still doesn’t, appear to understand that high quality lenses are very important.
But now I’m feeling stuck. If I were to only have one lens, ever, it probably would be the 35mm f/1.4 I have now. It’s an excellent lens, better than the old 50mm f/1.8 Canon lenses I had on my FD system, and much better than the 25mm f/2.8 pancake lens I had on my Olympus. It is an outstanding “normal field of view” lens.
But I really love having a wider angle lens available for general photography, and a short telephoto is almost a necessity sometimes.
I expect that I’ll end up buying the planned prime lenses eventually, but I hope to do a little travel between now and the expected release dates. And I want more flexibility than I have with just one focal length. I took a risk buying a system on planned lens releases and now I have to live with that.
So instead of sticking to my guns and being a prime lens purist, I ordered the 18–55mm f/2.8–4 zoom. I used this lens as a rental once, and it is a definite step up from the equivalent lens on my Olympus. It still has a variable maximum aperture, sadly, but is very well built and a full stop faster than the equivalent lenses on other cameras.
I was still a little worried about distortion and optical quality. Zooms, even high end ones, tend to have barrel distortion at one end and pincushion distortion at the other. They also tend to be less sharp than primes. Meanwhile, Fuji’s primes so far appear to be fully optically corrected for distortion and are very sharp. But even though this lens is not completely distortion free it is very good.
I took the lens out yesterday and took a few shots to try it out. Nothing special, but so far I’m quite happy with the feel and operation and with the sharpness of the lens. Focus is quick and much quieter than the 35mm. I look forward to getting a lot of use out of this lens, and will just have to deal with the shame of buying a zoom somehow. Maybe by taking pictures that I’m proud of.
— Steve
The cycling season is off to a rather slow start for me this year. Although we are now halfway through April, spring has not had the decency to stick around and be friendly. Almost weekly snowstorms are mixed with warm days, cool days, and windy days, and they don’t always align with my free time.
I think this is the slowest and coldest start to spring in the 6 years I’ve lived in Denver. And it’s put a real damper on my riding.
I’m no fair-weather-only rider, but I vastly prefer it. And out here that usually works.
And before the season started I even spent time and money getting my road bike prepped for a new season.
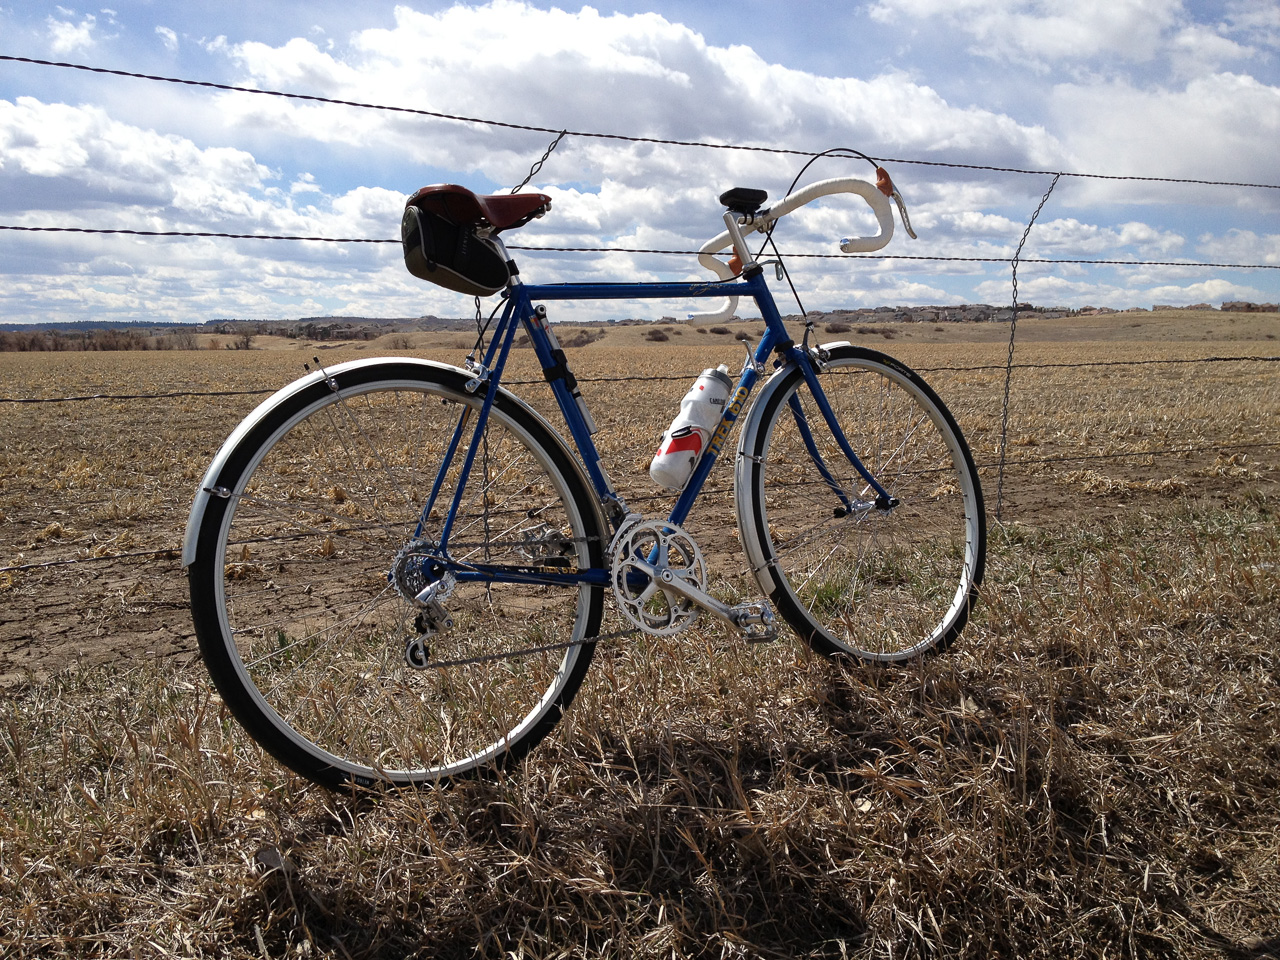
My original rear wheel, with its thin rim and bad French hub, finally gave in near the end of 2012. It was impossible to keep true, pulled a spoke nipple, and had an alarming amount of play in the hub that led to numerous phantom shifts. It was time to finally do something.
So before the weather was really amenable to regular riding, I called up the owner of a shop in the Twin Cities about getting a new set of wheels. I’d looked around locally, but most of the wheel builders I found in Denver seemed to focus pretty strongly on the racing market. I wanted strong, inexpensive, well built wheels instead. I had no interest in fancy and not much interest in lightweight.
It didn’t hurt that the shop owner went to grad school with Ben. I like the connection over someone wholly unknown. Jim, the shop owner, helped me choose rims and hubs, and put together a configuration that would work with my old frame without changing any other components.
And yes, the rims are 29er rims. Measurement shows they’ll be good for tires from about 28mm to 45mm. I usually ride 32mm or larger tires, so this seemed like a good choice.
When the wheels arrived I got everything set up and picked up a cheap set of 700×35 tires and managed one break in ride. Then the weather turned bad, I traveled a lot, and got sick. It wasn’t until late March that I could even get a real ride in on the new wheels. They’re lovely, but after that one big ride and a few short rides I got stuck again.
More travel, another cold, and several more snowstorms. Snow this week too. It’s getting a little out of hand. Less than a hundred miles this year.
I’m hopeful that in another week or two things will settle out and I can get some real riding in. I need it and I really want to get a lot of miles in the new wheels. Make them mine, if that makes any sense.
— Steve
Spring is here, and warm weather is becoming normal now despite the occasional cold wet day. My last brew, an IPA based on Bell’s Two Hearted, is a good style for warm weather. But I also love wheat beers and strong effervescent ales in warm weather.
One of my favorite strong bubbly ales is the American farmhouse style Tank 7 from Boulevard. It’s certainly Belgian in inspiration, similar to a saison or strong golden, but the hop choices are more American. It has great drinkability and high alcohol content, which is a wonderful combination on a warm summer evening.
This style of beer is my next brew, which I’ll be doing tomorrow, April 6.
Unlike the Two Hearted, I am not trying to clone Tank 7. I wouldn’t mind coming close, but I’m trying more to brew something of my own based on the style than match the actual beer’s profile.
I certainly researched people’s recipes for the beer, including a third-hand statement on the mash and hops Boulevard uses, supposedly relayed by head brewer Steven Pauwels himself.
I don’t trust any of this specifically, but in aggregate I think I have a recipe that will be style appropriate.
The tricky parts are my inexperience with using corn as an adjunct, and the weird farmhouse ale yeast I plan to use, White Labs 670. It’s weird because it has a mix of normal Saccharomyces yeast with Brettanomyces, and I am finding mixed things on how long a beer needs to condition before some of the Brett funkiness appears in the beer.
So I’m going to guess at a schedule, and assume this beer will be ready in mid June.
This recipe is tuned for my simple brewing system where I can get a 75% mash efficiency consistently. I can’t easily do multiple temperature rests, so I’m going with a single infusion mash at 149F (compared to my more usual 152F). The lower temperature and addition of corn should get a more fermentable sugar mix that will allow for a lower gravity, dryer finish.
Malt
- 10.0 lbs Belgian two-row pale malt
- 3.0 lbs Flaked corn
- 1.5 lbs White wheat malt
Hops
- 0.4 oz Magnum 14.0%, 60 min
- 0.4 oz Simcoe 13.0%, 25 min
- 1.0 oz Amarillo 8.5%, 5 min
- 2.0 oz Amarillo 8.5%, 1 min
Yeast
- White Labs WLP670 in a starter.
Mash (Single infusion, 149F)
- Infusion: 21.75 quarts at 168F
- Sparge: 17.0 quarts at 170F
| Style | American Farmhouse |
|---|---|
| Calories (12 oz) | 240 |
| IBUs (bitterness) | 38 |
| Color (SRM) | 5.9 (golden) |
| ABV | 8.4% |
| OG | 1.074 |
| FG | 1.010 |
— Steve
As I wrote a couple of weeks ago, I tried to brew a decent clone of Bell’s Two Hearted Ale, one of my favorite beers, during my last brew session. Now that the beer has carbonated, and I have gotten past my awful spring cold, I was able to compare the real thing to my homebrew side by side.
I refrigerated one bottle of each beer, poured them into two similar glasses, and placed them side by side. My homebrew is on the left, in the 1965 ISU glass. Bell’s Two Hearted is on the right, in the 1975 ISU glass.

As the photo shows, we had a big snowstorm in late March. It also shows that my homebrew is a slightly lighter color than the Bell’s brew. This could be that Bell’s uses a longer boil, but it is more likely that the real thing has a higher percentage of the darker malts. It could also be that the Colorado malt I used is paler than Bell’s pale malt. Whatever the actual cause, the color isn’t quite there.
The photo also shows that my homebrew has a larger head, though the color and size of the bubbles are very similar. This could be because I carbonated to a slightly higher level, or it could be another factor affecting head retention. It’s hard to say.
The homebrew had a more noticeable hop aroma. A really nice bright floral note when I stuck my nose in the glass. The Bell’s beer had much less of a up front hop aroma, but it could be the time it spent since bottling (bright hop notes fade over time).
The Bell’s brew had a much more up front hop flavor on the tongue though. I don’t think it was actually much more bitter, as the perceived malt levels of both beers were pretty similar, but I think that they may have used more hops in the later parts of the boil. Mine had a pleasant hop flavor, but nowhere near as assertive as Bell’s. I think moving the hop additions around a bit so that the IBUs stay similar but more hops are added in the last 15 – 20 minutes of the boil would help.
In the end, I made a very tasty well balanced American IPA. But I didn’t quite match my target. I might try this again in the future with slight changes to get the color and hops closer to the real thing. Things to try include more caramel malt, whole hops rather than pellet hops, and hop schedule changes.
And even though I didn’t match the target beer, I’m still going to thoroughly enjoy drinking what I did make.
My latest brew is an attempt to clone Bell’s Two Hearted Ale. Bell’s is one of my favorite breweries, but I can’t buy their beer out here in Colorado. Instead I buy a bunch every time I head back to Iowa, but it doesn’t last forever.
Of Bell’s beers, their Two Hearted Ale, an American style IPA, is one of my very favorites. It is hoppy without being unbalanced, and the use of only Centennial hops works far better than I would have expected.
Since the six pack I bought during my Christmas holiday won’t last forever, I decided to try to brew a clone instead. The clone is based on a recipe posted to a popular homebrewing forum, with only minor changes to the malt bill and adjustments to the hop additions because of the higher alpha acids in the batch I used. I took this brew as a chance to try the Colorado two-row pale malt I’ve been eyeing for a while.
I actually did this brew back in January, but I only bottled it a week ago, and it’s not quite ready to drink yet. I’ll probably follow this up with a side by side comparison with actual Two Hearted Ale when it is.
I know my simple brewing system well enough to target a 75% mash efficiency, which I usually hit within a couple of points. It was therefore easy use the grain bill from the forum recipe and have confidence I would hit the target. It took almost a half dozen brews to have that confidence in my skill and equipment; previously I had brews both above my target OG and well below. The beer was still good, but I wasn’t hitting the numbers I wanted. I have a much better chance now.
Malt
- 10.0 lbs Colorado Two-row Pale Malt
- 2.0 lbs Briess Vienna Malt
- 0.5 lbs Briess Carapils
- 0.5 lbs Briess Crystal 20L
Hops
- 0.8 oz Centennial 11.6%, 60 min
- 0.8 oz Centennial 11.6%, 15 min
- 1.0 oz Centennial 11.6%, 5 min
- 1.0 oz Centennial 11.6%, 1 min
- 1.0 oz Centennial 11.6%, 7 day dry hop
Yeast
- Yeast harvested from a bottle of Bell’s two hearted and cultivated in a starter
- The forums think that Wyeast 1272 is a close match to the Bell’s yeast
Mash
- Infusion: 19.5 quarts at 170F
- Sparge: 17.5 quarts at 170F
The one new thing I had to do for this brew was harvest the dregs of a bottle of Bell’s Two Hearted Ale and cultivate the small amount of yeast left in the bottom of the bottle into enough clean yeast to brew a 5 gallon batch of beer.
I had to build up that small amount of yeast by feeding it wort and oxygen so it could multiply. I started by preparing wort for a normal yeast starter. I prepared some santizer and sanitized the lip and inside the neck of the bottle after opening it. I carefully poured the beer into a pint glass and reserved it, leaving all the yeast in the bottle at the bottom, which was then pitched into the starter while I drank my glass of beer.
Further reading showed that I may have wanted to start the first round of cultivation with something more dilute, but the yeast seemed to take to it well.
After a couple of days on the stir plate I had a decent amount of yeast. I refrigerated it and then decanted the beer off the top of the yeast layer. I pitched a new batch of starter wort on top of the yeast and put it back on the stir plate for a couple more days. I did this one last time, and at the end of that had about as much yeast slurry as I do for a normal batch of beer.
As noted above, the internet is pretty sure that Wyeast 1272 would give essentially the same results, but it was fun to grow the yeast from a single bottle into something I could use for a whole batch of beer, and to know I was using the same yeast that Bell’s did (assuming it didn’t mutate).
Per the BJCP guidelines this beer is an American-style IPA. I have a few notes on the Bell’s beer that indicates it is about 7% ABV with a starting gravity of about 1.064. This is the best I had to go on though.
American IPA
| American IPA | Homebrew | Bell’s Estimate | BJCP Reference |
|---|---|---|---|
| Calories (12 oz) | 210 | N/A | N/A |
| IBUs (bitterness) | 59 | 55 | 40 — 70 |
| Color (SRM) | 6.0 (light amber) | ?? | 6 — 15 |
| ABV | 6.8% | 7.0% | 5.5% — 7.5% |
| OG | 1.064 | 1.064 | 1.056 — 1.075 |
| FG | 1.012 | 1.010 | 1.010 — 1.018 |
So I’m near 7% ABV, and within all the style targets for an American IPA. The notes I have on actual Two Hearted Ale are similar.
As is normal for my process I taste samples of the beer as it moves along the fermentation and conditioning processes. This beer has by far the strongest hop aroma of anything I have brewed. I am not sure it is the most bitter, but the large late hop additions and dry hopping mean there is a big forward hop smell and flavor. The color is about right too.
When the beer has fully carbonated I’ll refrigerate a bottle of Bell’s Two Hearted and a bottle of my clone, and do a side-by-side comparison. It will not be a double blind taste test, just a comparison of color, clarity, head, aroma, taste, feel, and so on. I’m curious to know how close I got.
Even if it isn’t perfect, I think this is going to be a good batch. And my notes show it is my first IPA.
— Steve
I had the opportunity at the end of January to travel to Spain for a series of meetings and site visits related to a wind project I am working on. The business parts of the trip went well but are not terribly interesting to write about. But it wasn’t all business, and I did get walking tours of central Madrid and Pamplona while we were there.
I admit that I was fairly nervous before traveling. I hadn’t been to Europe in years and years, and I was worried about the language barrier and having trouble getting around. I should have known better. There certainly is a language barrier in Spain, but it’s more of a low fence than a wall. People in general are very friendly and willing to help out. I didn’t get any sense of the “stupid American should have learned Spanish” feeling I dreaded.
I wish I did know Spanish, because it would have made things more fun, but at least I didn’t feel like an outcast.
So most of my worries were unfounded, and what the trip really taught me is that I should travel more. Worries about language and finding my way around are excuses rather than reasons. Spain is a modern Western country and it generally makes sense. I’m fairly smart and can find my way around. People are mostly friendly and helpful. Just go and you can work through it. I sometimes get worked up about travel even when I’m just going to Canada (what if they speak French?) and it is never an actual problem.
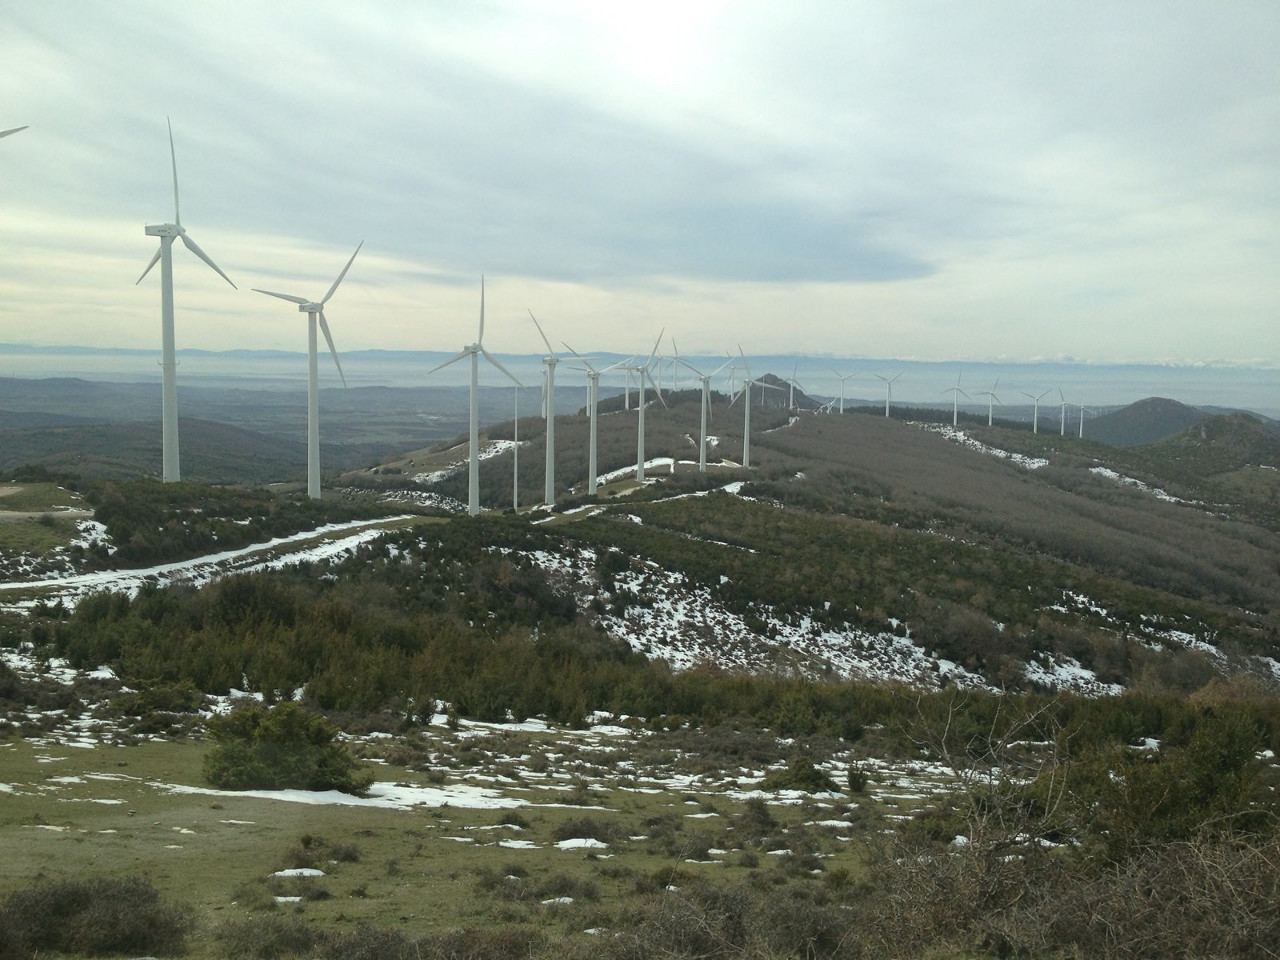
We spent most of our time between Madrid and Pamplona, with a brief visit to Lleida to see a wind project near Almatret. Work kept us busy, with long days, so I didn’t get nearly as much time as I would have liked to explore.
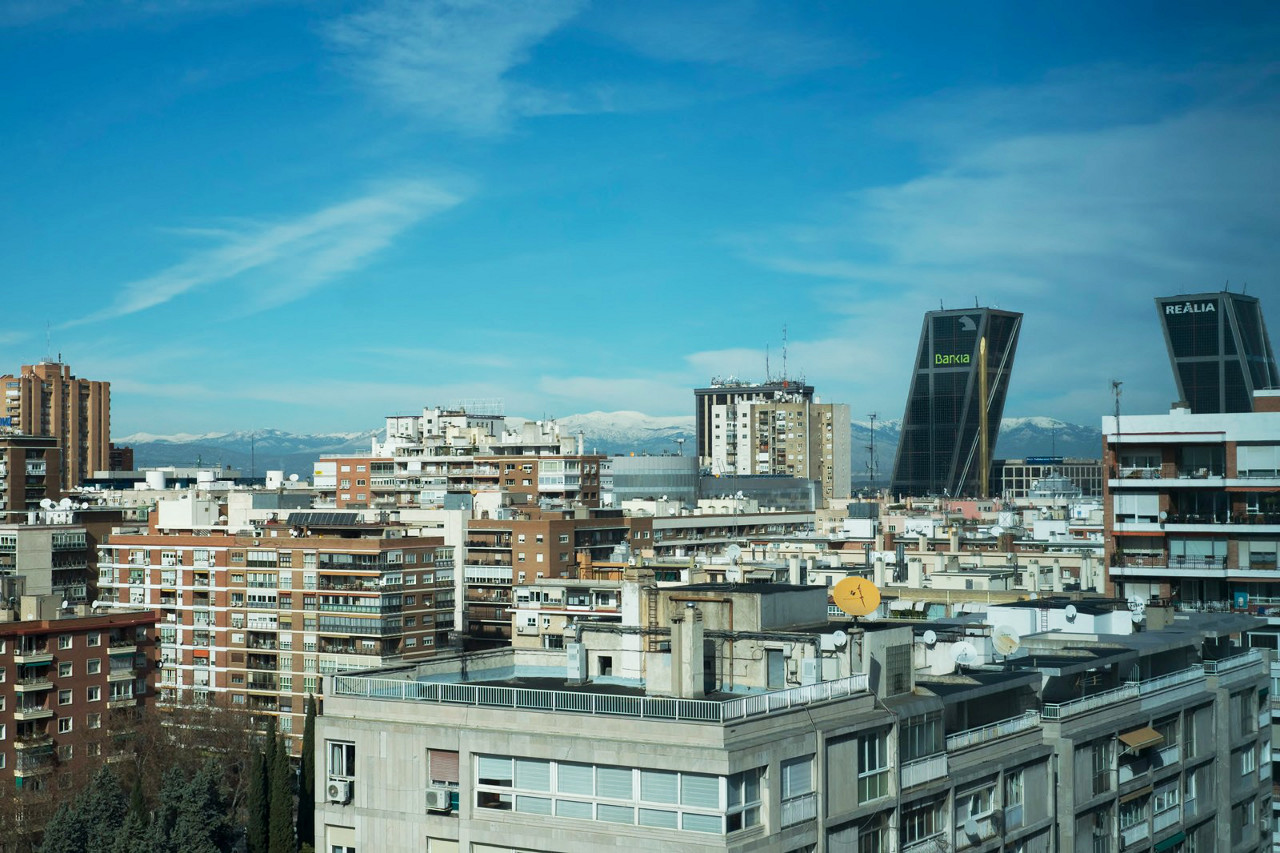
The first day was in Madrid for a few meetings. I had a decent view from my hotel room.
We rode the Renfe AVE high speed train from Madrid to Lleida. It was very nice, riding at 300 km/hr (185 mph) across the countryside.


When we got to Lleida we drove up towards Almatret to visit a relatively new wind farm.
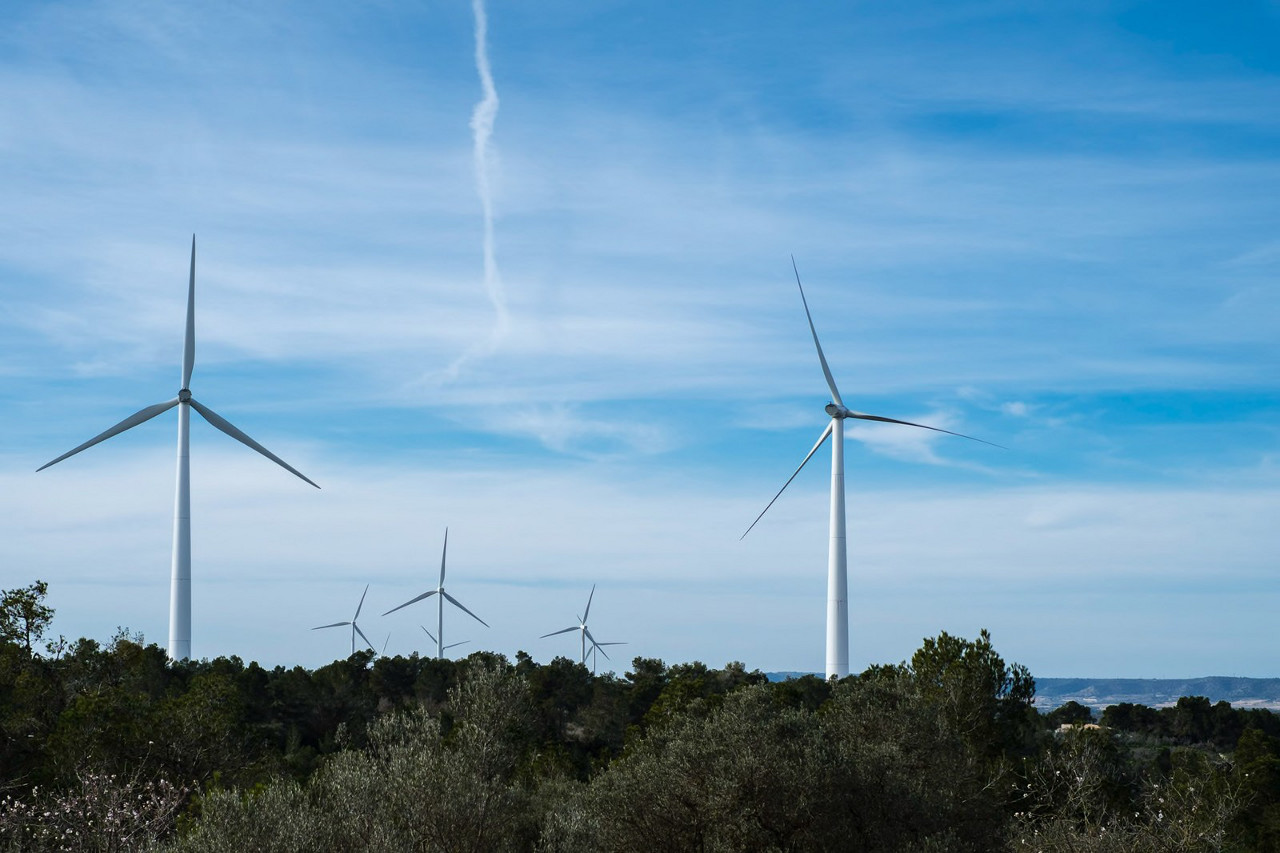
After that we headed to Pamplona for a couple days of meetings, some factory visits, and a visit to another wind farm.
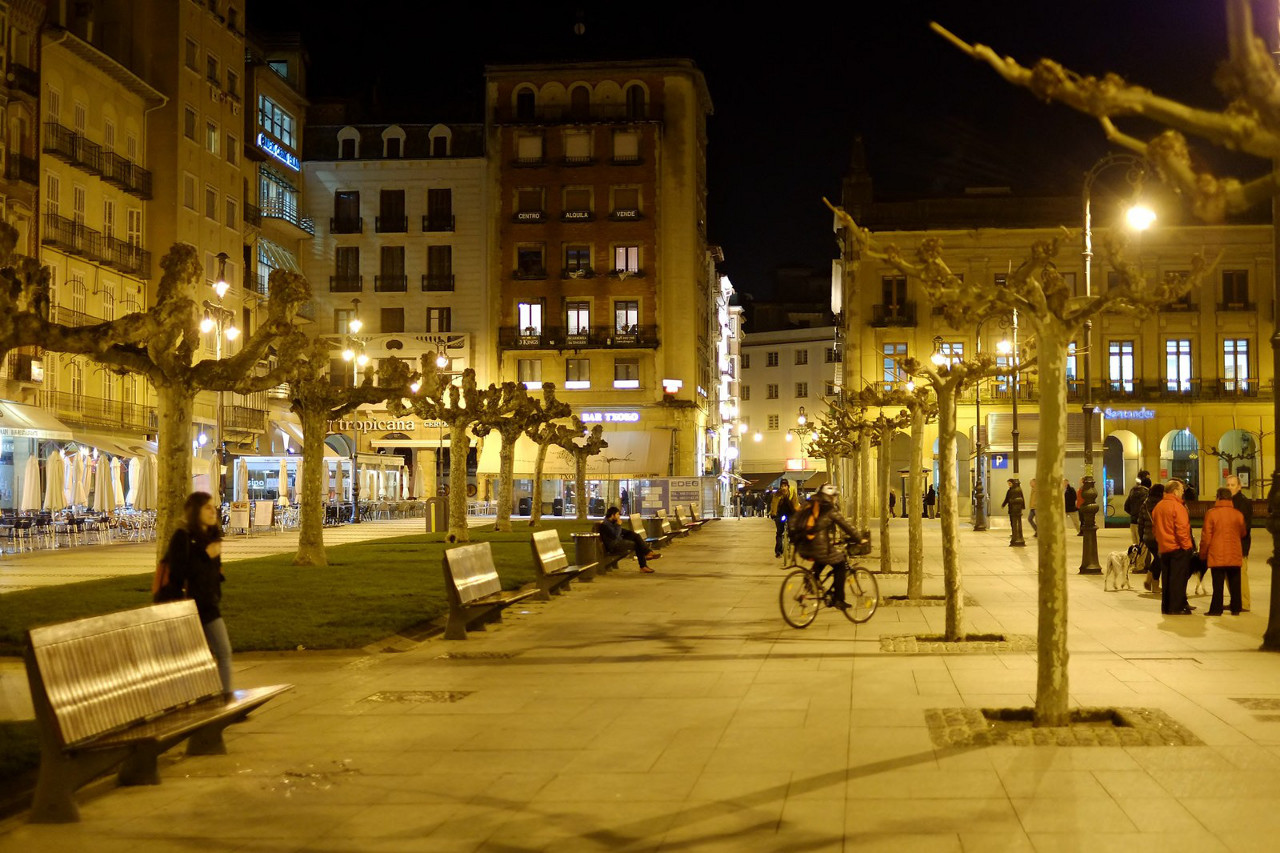
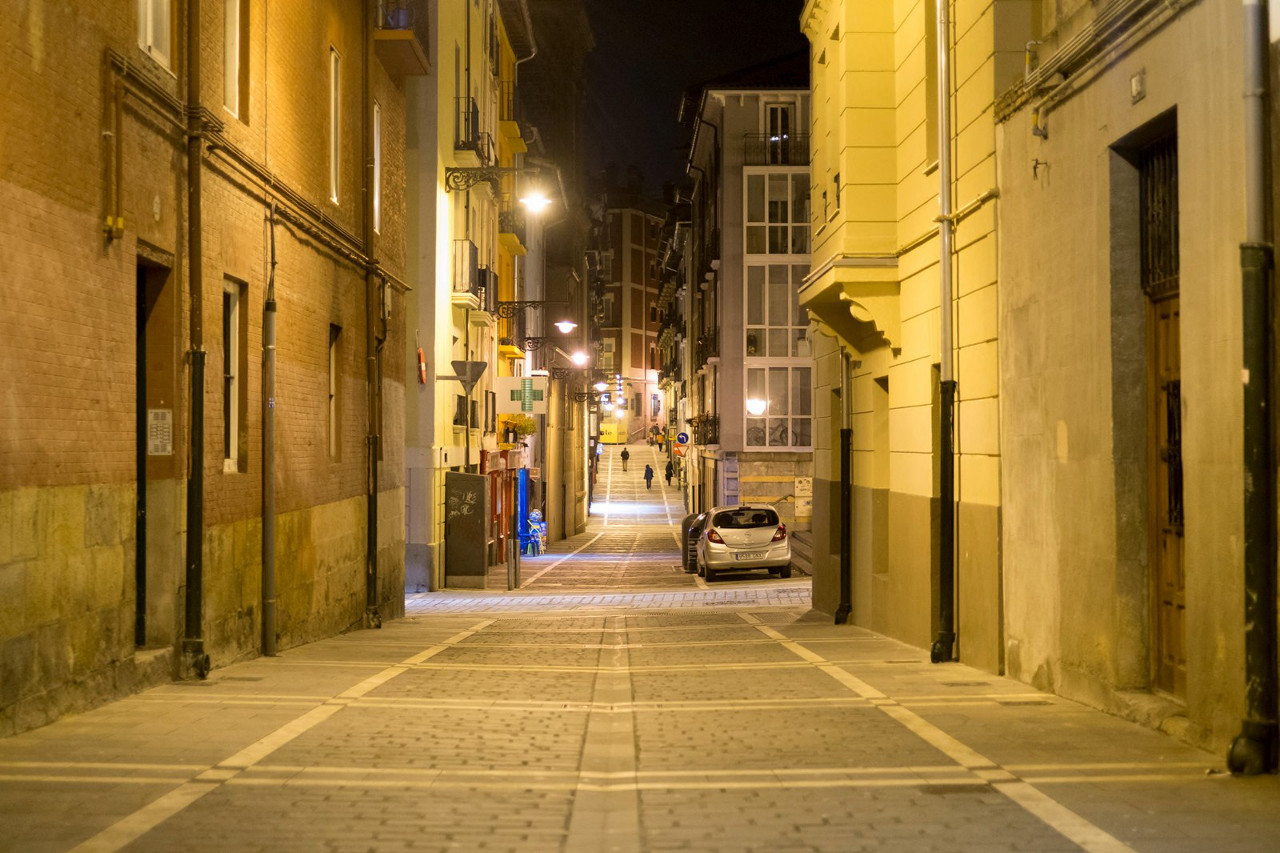
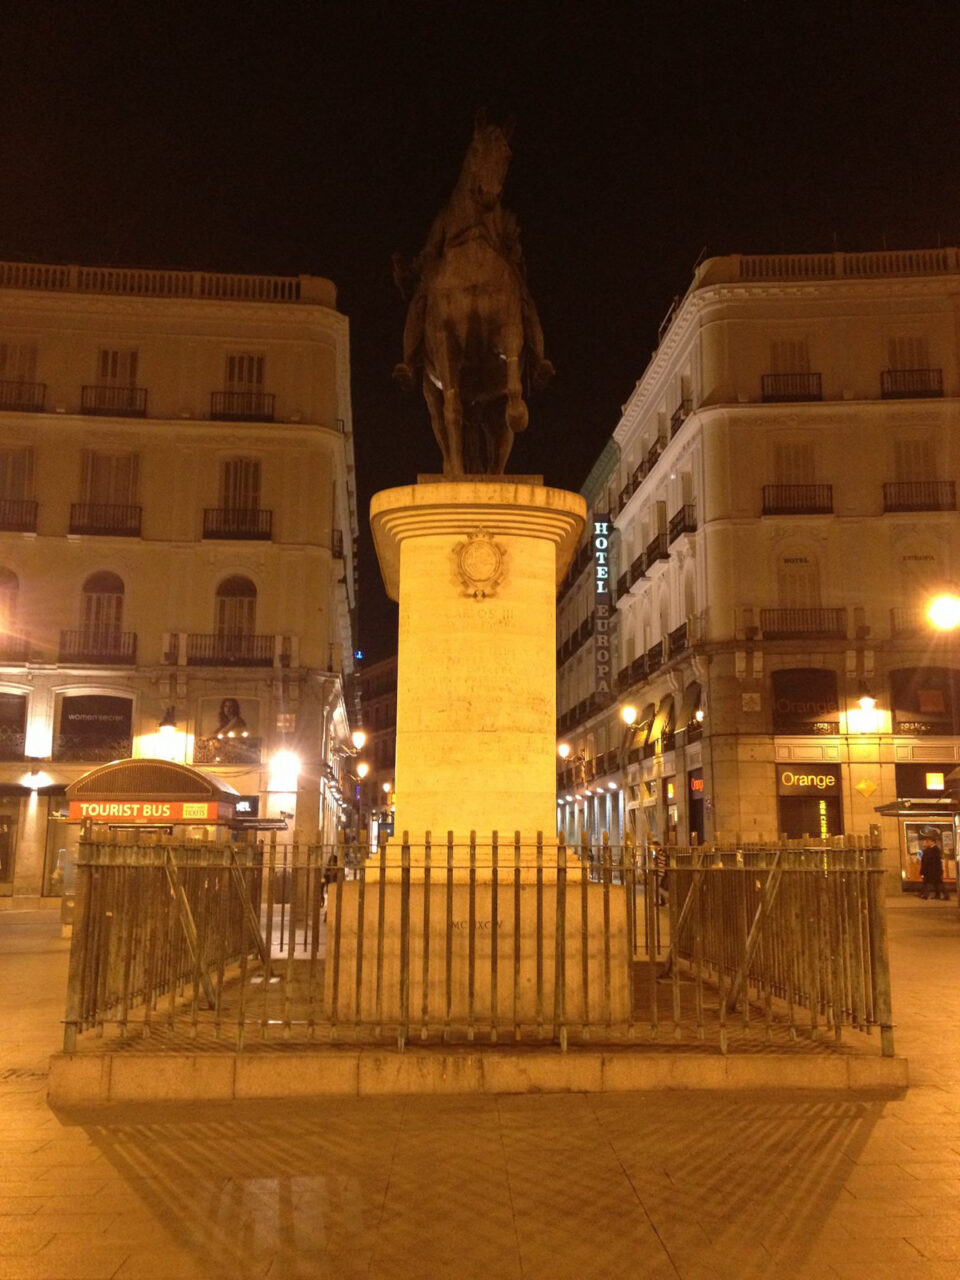
We flew back to Madrid for one last day of meetings before heading back to the US. We got a walking tour of downtown Madrid on our last night in town.
I got enough that I very much want to go back, and travel around on my own time with a camera and tripod and days to get lost and have no set schedule. A proper vacation. Northern Spain has some fantastic views, most of which I didn’t have a chance to photograph.
— Steve
I decided to start running late last November. I don’t think I had any specific reason, but a few weeks before I started I played a pickup football game with my cousins and realized just how far out of shape I was; it was far more than just being overweight. I could hardly breathe partway through the game and the next day I was still and sore all over. I had a great time playing but it would have been much better if I could run.
I picked up an inexpensive pair of shoes and started looking at the common couch to 5k training programs on the internet. I chose a fairly simple one with straightforward progression and an iPhone app. The app is literally just a set of timers and voice prompts, but it is enough. I record each run using RunKeeper to better track my progress.
When I started a run was a minute of run time followed by a minute and a half of recovery time. And it was hard. Really, really hard.
Although I cycle a lot it’s clear that cycling and running are very different activities. Weight does matter on the bike, but realistically the bike carries most of your weight and you just have to supply the momentum. I could ride 40 miles in any given day but couldn’t run for 5 minutes.
But in a couple of weeks I had progressed from 90 seconds to 3 minutes of running at a time, then 5, then 6, 7, 8, and 10. By 2 and a half months I was stringing together a 10 minute run with a 15 minute run with only a few minutes to recover in between.
And today I got rid of the recovery time in the middle and did 25 minutes nonstop. 2.2 miles at 11:30/mile.
I know that probably won’t impress any of my running friends, but less than 3 months ago I couldn’t go 2 minutes at a stretch. At the new year 4 or 5 minutes was nearly impossible. Now a 5k (3.1 miles) is definitely in reach. I finished tonight’s run and easily had a few more minutes in me.
I’ll give it a few more weeks of increasing the time until I can do a 5k nonstop. Based on my average running pace on RunKeeper that will take about 35 — 40 minutes on nonstop running. And I think I’ll get there fairly soon.
I honestly didn’t think I would improve this fast. Some days, even earlier this week, have been brutally hard and left me unable to meet my goal. But the good days are enough and I’ve kept at it.
In fact that’s the most important thing to me. I have stuck with this so far. I wasn’t sure I would when I started, which is why I haven’t written about it until now. My sister Annie, a dedicated and very fast runner, was good motivation, especially on the hard days.
And except for those times when I’m out of town I’ve been able I go out 3 times a week every week, and every week is better than the one before.
Once I hit a 5k, at any pace, I’m going to work to increase my speed and lower that to a 5k at a 10 minute pace. From there I don’t know where I want to go yet, whether a 10k or trying to get my mile pace down. I might work on pace first, and then work on a 10k after that.
Do me a favor and keep an eye on my RunKeeper page, and nag me if I start to slack. I’ve done well so far but support never hurts.
— Steve
I took a long and sorely needed break for Christmas at the end of the year. I drove I70 across Kansas to the Kansas City area the week before Christmas and stopped for two nights at my aunt and uncle’s in the charming little town of Weston, Missouri. The big snowstorm happened the night before I drove, and although I had no trouble getting to KC, Weston had a few inches of bright white snow. The last 15 miles on the way up to the town were the slowest and slipperiest.
I got to stop by and see my cousin Greg’s family the first night. His little girl is 3 now, and his infant son, who never seems to stop smiling, is growing quickly. When I got to their house the first thing Posy wanted to do was show me “around the house” which meant following her to her play room and playing with her toys.
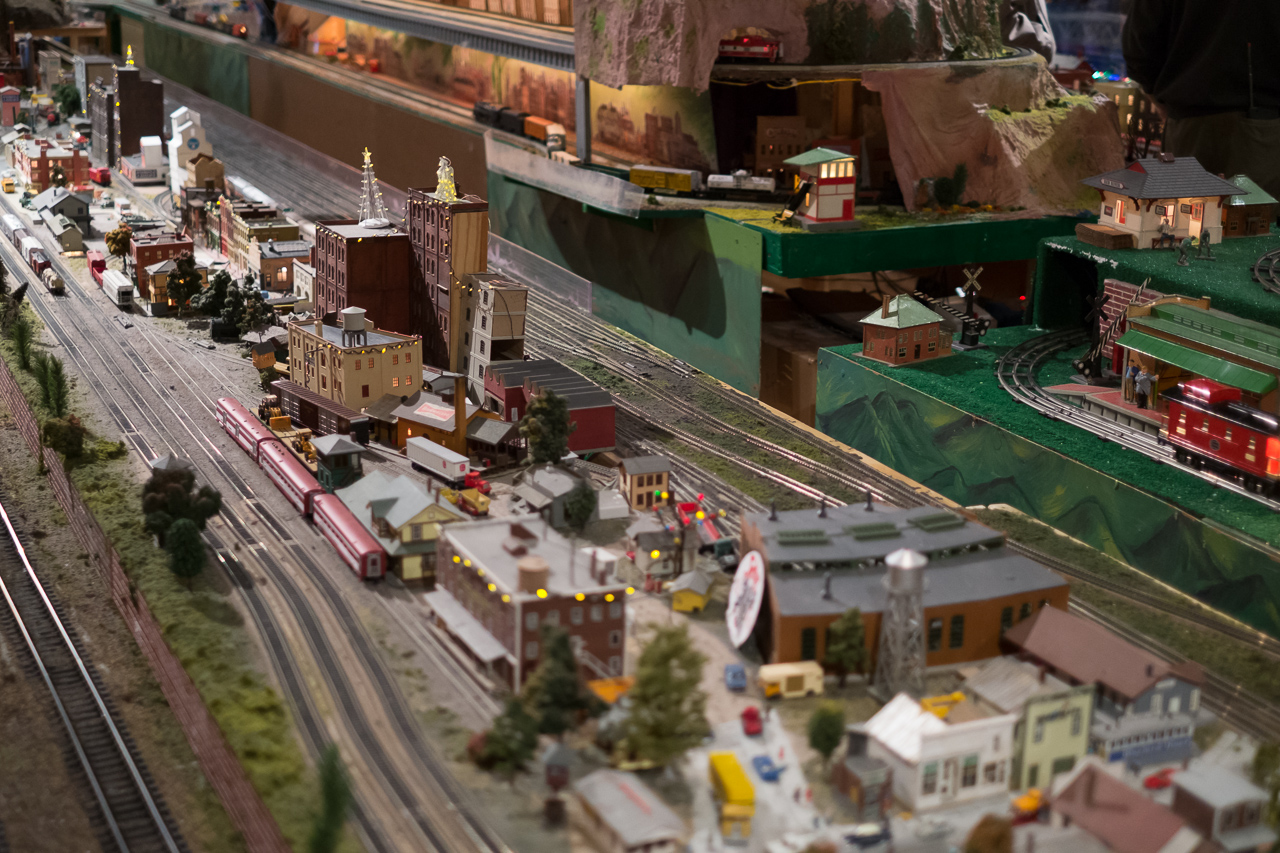
On the second day I walked around town in the snow for a while, then headed down to Kansas City. I visited some old haunts and did some reminiscing. Lunch at Grinder’s, an hour or two at Union Station and Liberty Memorial. Touring the model train display at the station. Coffee and photo review at the Broadway Cafe. The train display is always fun, and I took a mess of photos.
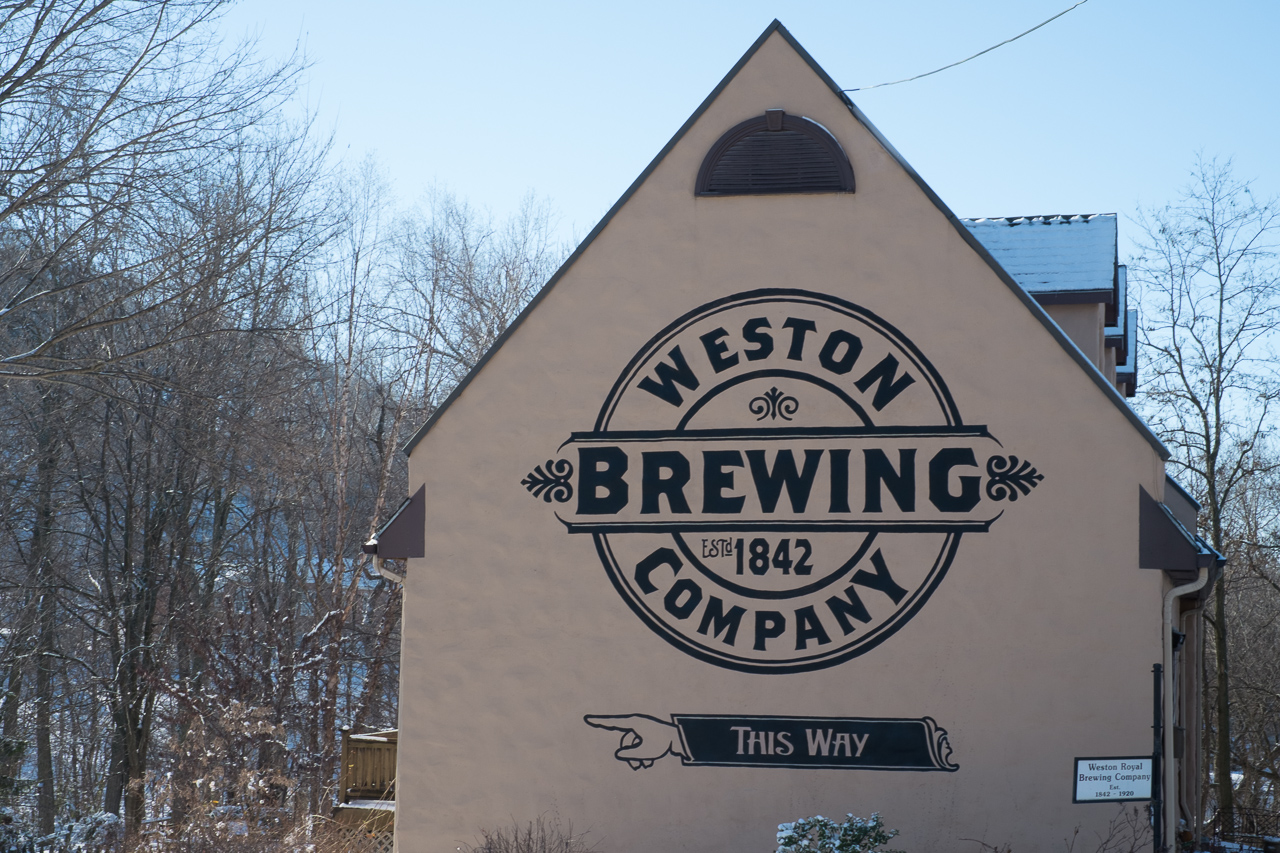
Saturday was my last morning before heading to Iowa, and I met Greg at his house and we walked down to the brewery. We got a short informal tour and a beer together before I had to hit the road.
After a couple of days the highways in Iowa were in better shape (initially they were very bad, and I would have had to wait to go to Iowa) and I drove north to Ames. I made it safely home and began a nearly two-week break there. There’s no need to go into detail on everything, but we got the whole family together for Christmas, and did our traditional gift exchange. I got several books I’m looking forward to read, and my older sister got me one of my favorite prints that I need to frame. My little sister got me the Bike Snob‘s first book. She didn’t even know that I was a huge Bike Snob fan, just thought I would like it.
My parents got me a number of things, the best of which may have been the bright red stand mixer. I’ve made bread twice since I got home, and I’ll make pizza soon (I need a stone, first). Until the novelty wears off I’m going to end up eating a lot of bread.
I got a number of other things, including a second 5 gallon fermenter. Now I can have 2 or 3 batches of beer going at once. I have a 6 pack of Bell’s Two Hearted and I may try to harvest the yeast and brew a version of that fantastic beer myself. The yeast harvest, if successful, will probably be its own post.
Andy can correct me here, but I believe this was our third polar BBQ ever. The first was held in Brookside Park when we were still in college, and was freezing cold. We drank beer and hung around a shelter late at night in the winter, and felt manly.
The second was held a few years later during Christmas break, at the Janke’s house in Ames. We grilled steaks outside and drank fancy beer, but we essentially punted on the polar aspect by spending most of our time inside.
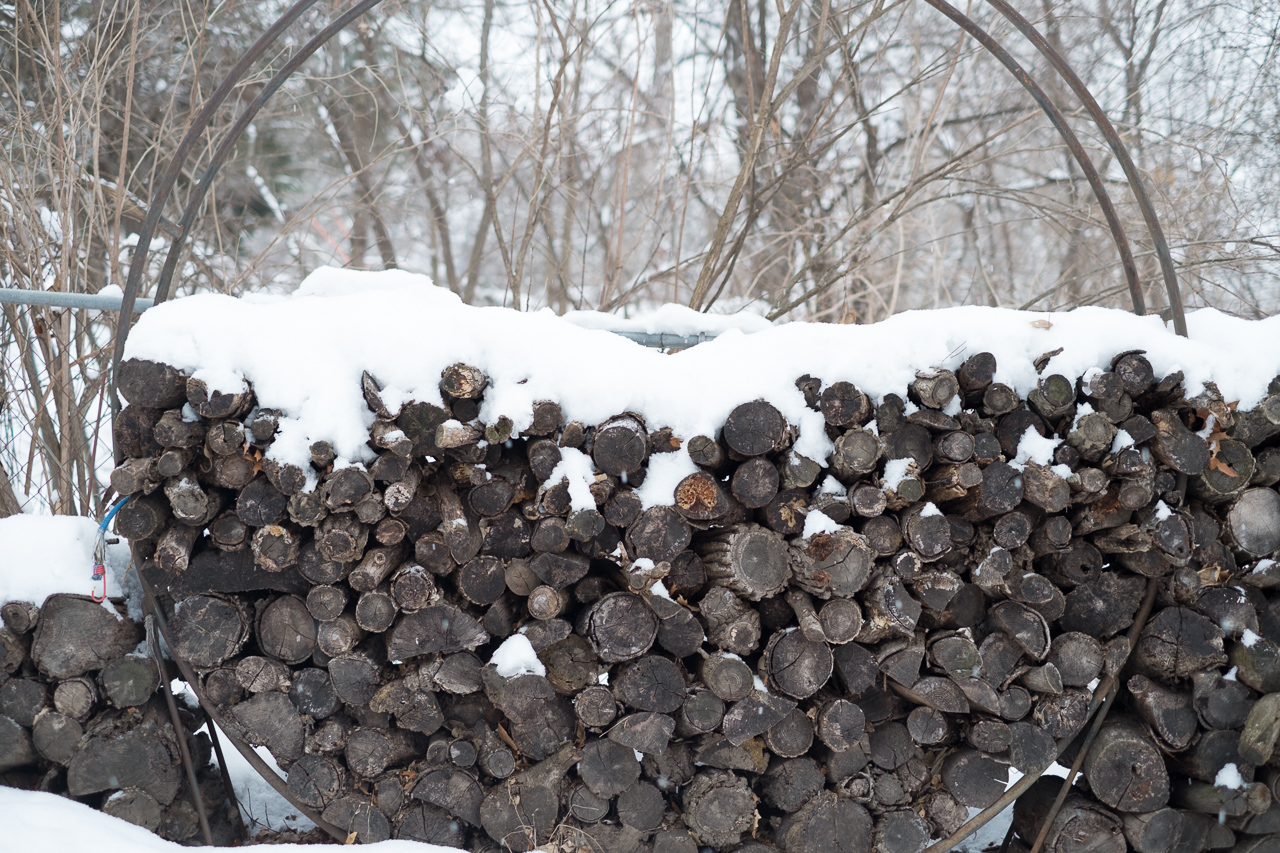
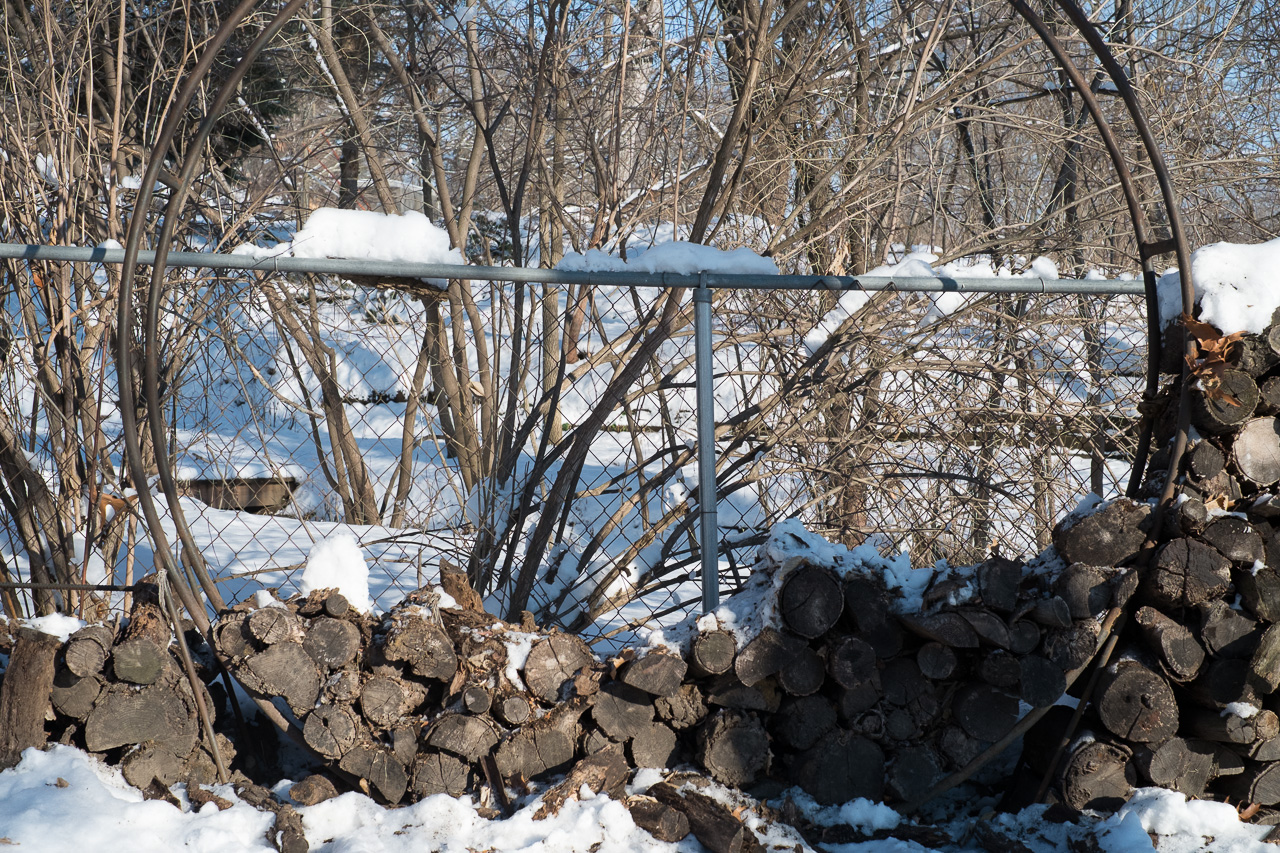
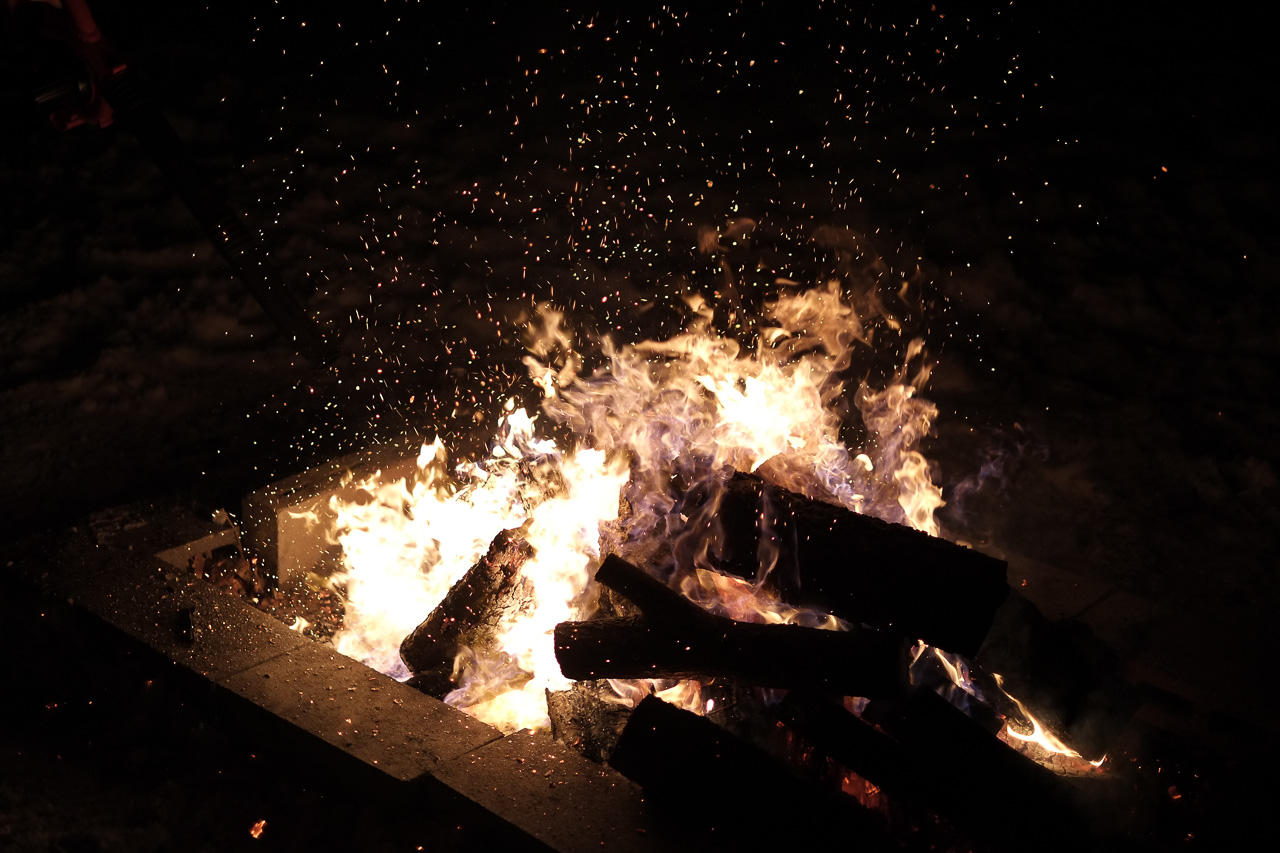
This third time, we did it properly. We held it at Andy’s house in Des Moines, and the whole town was still deeply snowed in and peacefully quiet. When Andy and I started, it was gently snowing big flakes. Although it was biting cold, we built a large fire in his fire pit, and this was the key to a successful polar BBQ. We spent hours outside, pausing to eat delicious pulled pork and chicken drumsticks indoors, before returning to the fire for the rest of the night. We burned a good chunk of the old wet wood in Andy’s wood pile.
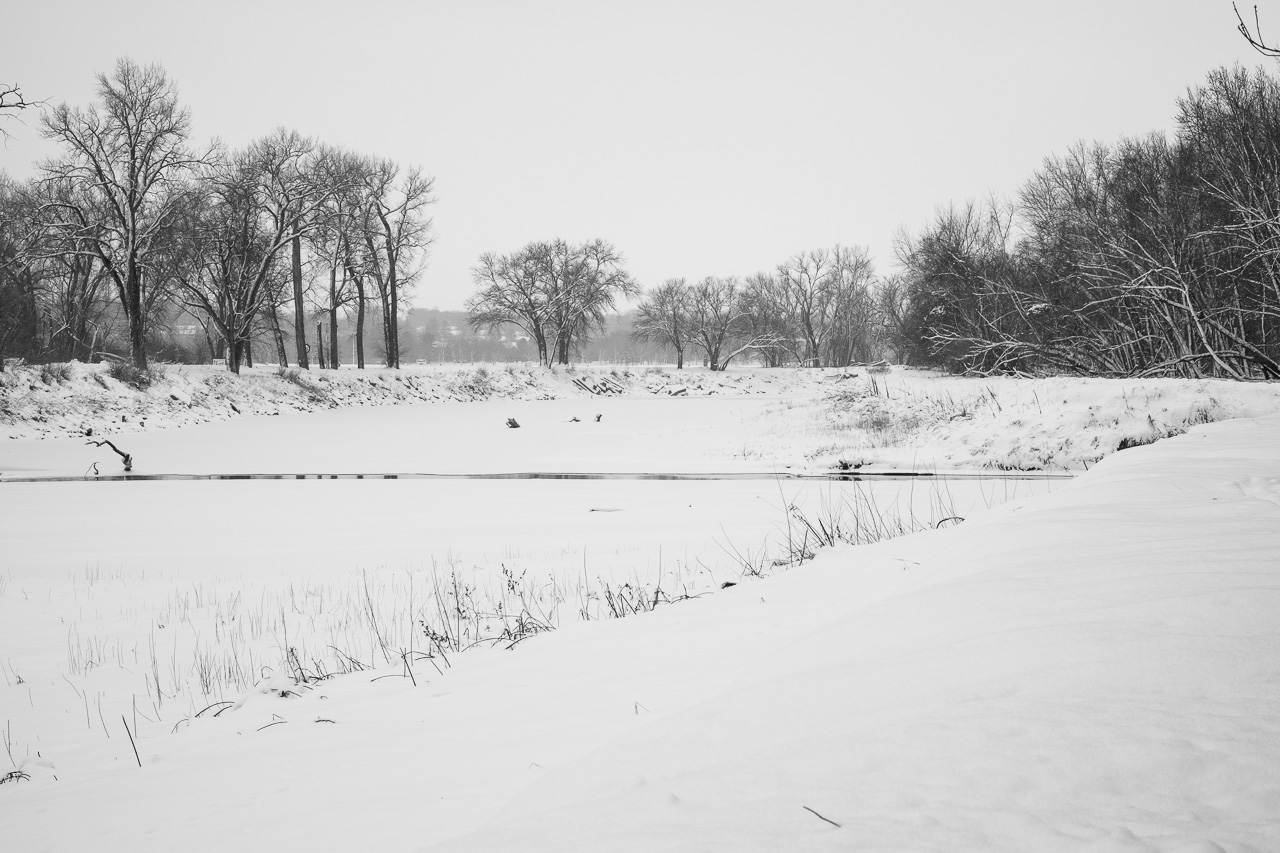
The next morning I went for a walk alone on the bike path down from Andy’s house, by the river. It was gently snowing again, and very peaceful.
I drove to Des Moines again a few nights later for a small and fun New Year’s celebration. We met at Erik’s house, and he made a number of really awesome pizzas. I’m not sure which was my favorite, but they were all good. We drank a few beers and some Cava, and rang in the new year like the dorks we are by beating the 4 player Super Mario for the Wii.
Amy and Lindsey joined us initially, but they both went to bed early, and it was just a boy’s night in the end.
I wasn’t terribly exciting in general, but we managed to fit in a visit to CHC, which is still fantastic. Ben and I also went to West Street Deli one day, and drove over to Boone on Jess’s recommendation to try out the Boone Valley Brewing Company. I went over to the big house in Nevada a couple times, and met my dad for lunch a couple of times as well. And although it was terribly cold the whole time, the trip was refreshing and the break did me good.
— Steve
I brewed beer twice in the past few months. I wanted beers to share with family and friends this Christmas. One is meant to be a warming and flavorful high gravity beer and the other a tasty session beer. I settled on brewing a robust porter for the former, and an ESB[1] for the latter.
These were the first two original recipes I developed. Previously I was brewing either extract-based kits or all-grain recipes developed by others. I developed these recipes myself based on the BJCP guidelines and a few published recipes for style-leading examples I knew.
The ESB is based on a Northern Brewer recipe, notes on ESBs in general, and some recipes people shared on forums. It uses the Fuller’s yeast strain. The porter is based on Dry Dock‘s Urca Vanilla porter (without the vanilla) and a different English yeast strain. The porter has some Belgian Special B malt and some chocolate malt (for raisin and chocolate flavors, respectively), which contribute to a high finishing gravity. This should be perceived as a thicker, more fully bodied taste. I’m actually a little outside the guidelines on finishing gravity but I decided that’s OK.
I bottled these beers over the Thanksgiving weekend. The process went smoothly, but as always it was frustrating and somewhat messy. There may be ways around this but I haven’t found them. Kegging seems obvious but that requires more space than I have right now.
I took my final gravity readings and calculated the apparent alcohol and nutrition content of each beer. I also tasted the samples, which even when warm and flat give some hint of the final beer.
ESB
| Style | Extra Special Bitter | BJCP Reference |
|---|---|---|
| Calories (12 oz) | 170 | N/A |
| IBUs (bitterness) | 44 | 30 — 50 |
| Color (SRM) | 8.3 (pale brown) | 6 — 18 |
| ABV | 5.5% | 4.6% — 6.2% |
| OG | 1.052 | 1.048 — 1.060 |
| FG | 1.010 | 1.010 — 1.016 |
Robust Porter
| Style | Robust Porter | BJCP Reference |
|---|---|---|
| Calories (12 oz) | 220 | N/A |
| IBUs (bitterness) | 49 | 25 — 50 |
| Color (SRM) | 27 (deep brown) | 22 — 35 |
| ABV | 6.4% | 4.8% — 6.5% |
| OG | 1.067 | 1.048 — 1.065 |
| FG | 1.018 | 1.012 — 1.016 |
The ESB was very clean, with a strong bitter flavor but not a lot of hop aroma. My last hop additions (at flameout) should impart some aroma but I’ll have to wait until the bottles carbonate and I try one to know for sure. Otherwise since it is an ESB it should be bitter in flavor but have less of a hoppy nose than an IPA. Once this carbonates I think it will be if not very good at least a pleasant session beer.
The porter on the other hand was full flavored, and although it has a decent amount of bitterness in the recipe the malt flavors show through more strongly. The chocolate malt is quite noticable. The relatively high alcohol level is also noticable. The beer at bottling time still had very minor yeasty hints in the smell, but I’ve had this before and they settled out with carbonation and chilling. Hopefully that will happen here as well. I have a feeling that the porter will taste good, but may not reach peak flavor until a few months of bottle conditioning, as even with over a month in the secondary fermenter it still had a bit of an edge. Again, we’ll see. I won’t know until early December how the final result will be, and I didn’t want to wait to post this.
I’m really looking forward to sharing these beers with my friends and family next month. And now it’s time to develop and brew a new recipe.
— Steve