![]()
Building a Mash Tun From a Coleman Cooler
Overview
The other day I pulled out my old Coleman cooler, which hasn’t been used since I went to Burning Man in 2006. After talking with some brewing friends I decided to use it as a mash tun. Coolers, both round and rectangular, are popular for mash tuns because they are inexpensive, easy to build, and well insulated, so they allow you to maintain temperature for an hour-long mash without having to continually apply heat.
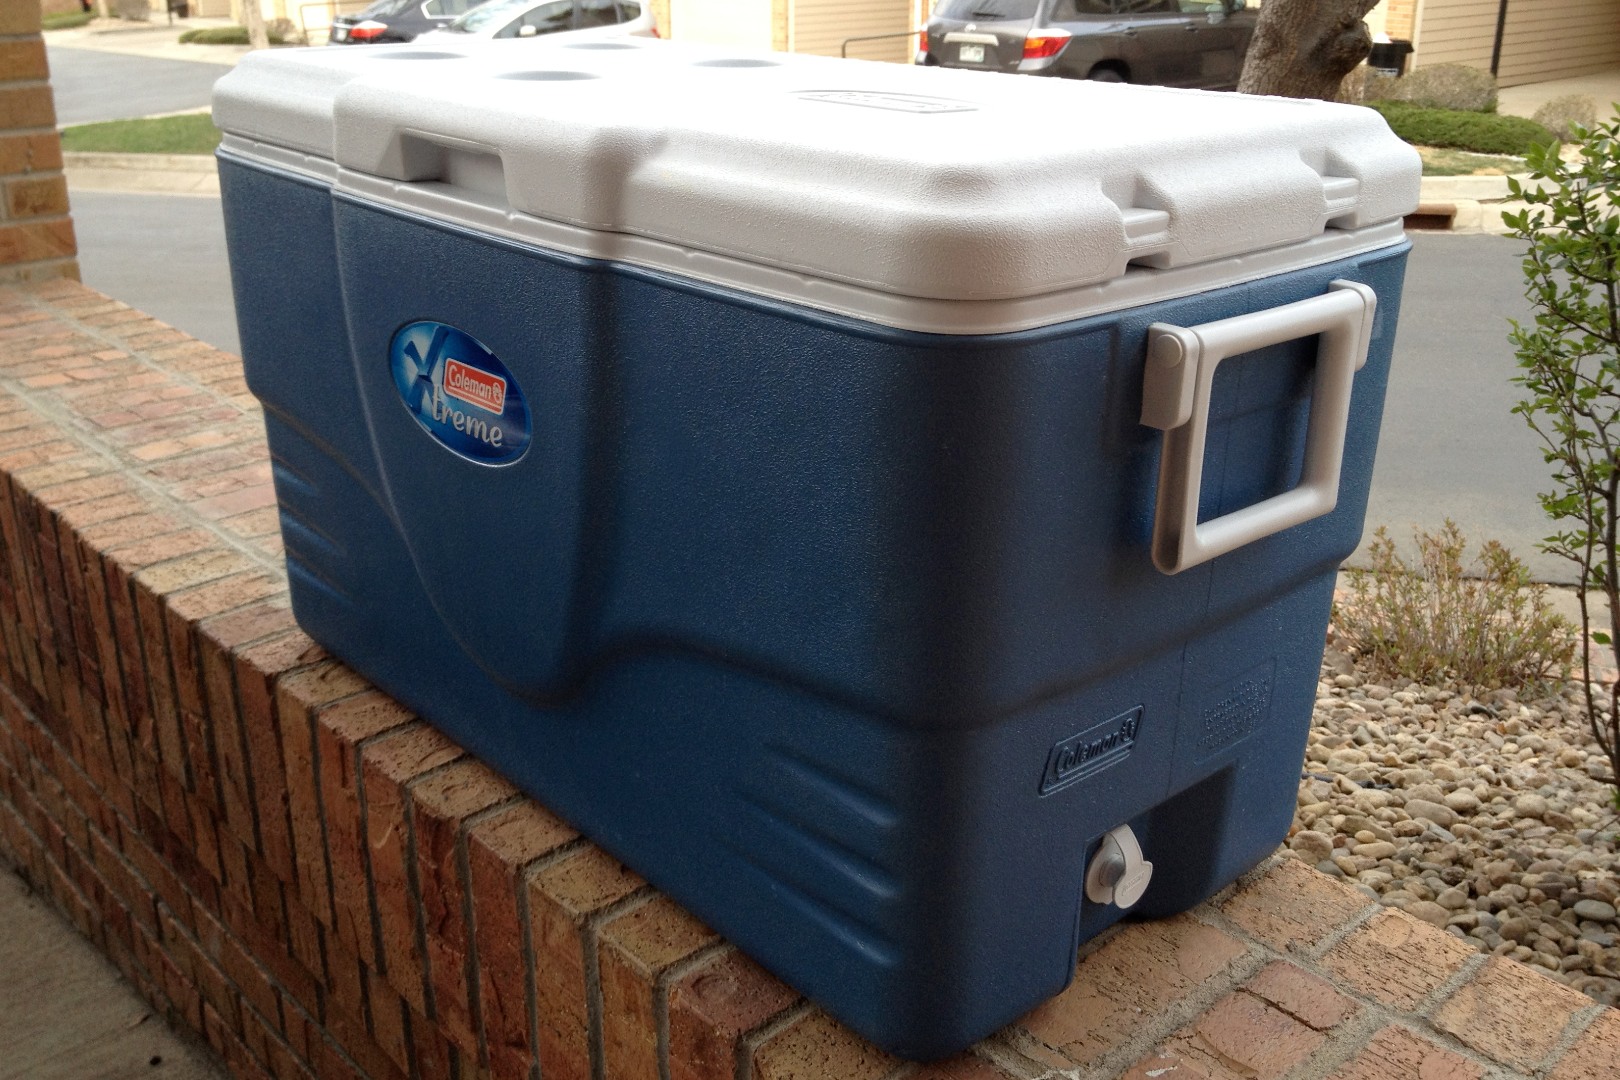
At first I wasn’t sure what size the cooler was, so I poured water in from 5 gallon pail. At 10 gallons the water level was right at the first break in the cooler wall, and at 15 gallons it was nearly up to the next step in the wall. Clearly this is a 70 quart cooler. The photo below shows approximately 15 gallons of water in the cooler.

I emptied the cooler and came up with approximate measurements.
- Length: 24 inches
- Depth: 10 inches
- Height: 12.5 inches to seal (highest step in the wall)
I removed the drain plug inexpertly with a pair of pliers and the hole measured approximately a 3/4 inches in diameter. I also inserted a short dowel I had laying around to check whether I needed to make any height adjustments to get the a copper manifold to lay flush at the bottom. Luckily it looked like the height of the hole was perfect.
There are several ways to create a good grain bed and allow the sweet wort out but leave all the grain and husks in the tun. These include mesh screens, false bottoms, braided steel lines, and copper manifolds. They all work in approximately the same way, but based on my measurements, the shape of the cooler, and the recommendations of my friend John, I decided to build a copper manifold.
Construction
After work on Friday I drove down to Home Depot to buy supplies. I bought 10 feet of 1/2 inch type M copper pipe (typical household pipe) and a bunch of 1/2 inch fittings. A parts list for the curious is enclosed.
- 10 feet of 1/2 inch copper
- 4 elbows
- 5 tees
- 1 female 1/2 inch MIP to sweat fitting adapter
- 1 1 inch long 1/2 inch MIP brass nipple (almost too short)
- 1 pack of #15 O-rings
- 1 gigantic washer
- 1 1/2 inch ball valve
- 1 1/2 inch MIP to 3/8 inch barb adapter
- 10 feet of braided nylon hose.
I only actually need about 1-2 feet of the hose, but it came in 10 foot sections and I figured additional hose might come in handy. I had to make a second trip because my initial parts list had a 2 inch long brass nipple, and that proved to be much too long. I also picked up a hacksaw on my second way through. In hindsight a proper pipe cutter would have been better.
I got the valve assembled into the cooler on Friday night, and got all the copper pipe cut to the right lengths. A test fit showed everything was expected to work perfectly.

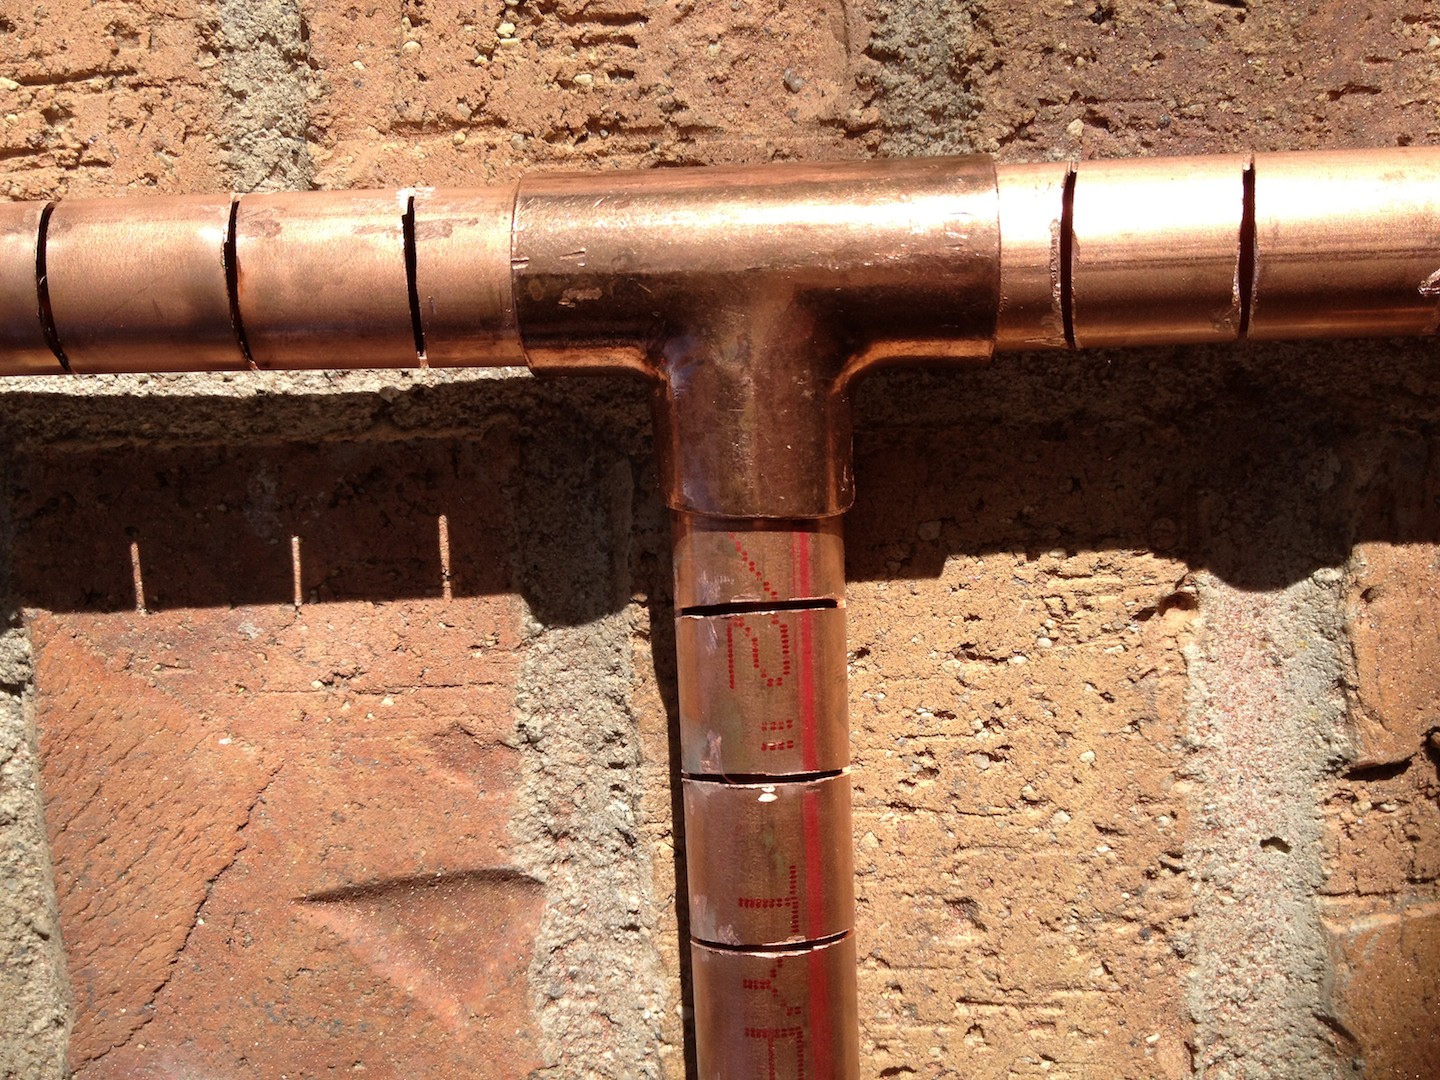
On Saturday morning I started working again. I washed all the copper parts in PBW, and scrubbed off the glue that held the UPC tags on the fittings. After rinsing and drying, I reassembled the manifold and crimped each connection lightly with a pair of pliers. It holds together well but can still be disassembled. This thing is supposed to leak so there was no point in soldering anything.
I decided to cut the slits in the manifold using my knockoff Dremel and standard Dremel cutting wheels. Eye protection is critical for these things, people. The wheels have a bad tendency to shatter without notice. I lost 4 or 5 cutting wheels to breakage, and wore several more down to mere nubs. It took a while but I think the Dremel was the right tool for this. A hacksaw would have been a lot more physical labor.
After I finished cutting the slits I used a small grinding tool to grind the burrs off of each slit, and then a nylon brush wheel to clean up after. There was still a lot of copper dust inside the manifold. I shook as much out as I could, and tried to rinse it out by forcing water through it with a hose.

Testing
After that I assembled the whole tun and did some checks. I filled the cooler with about 15 gallons of hot tap water (and concluded that it really might be over-large). I added PBW to wash the tub interior. I then took the temperature and closed the lid for an hour.
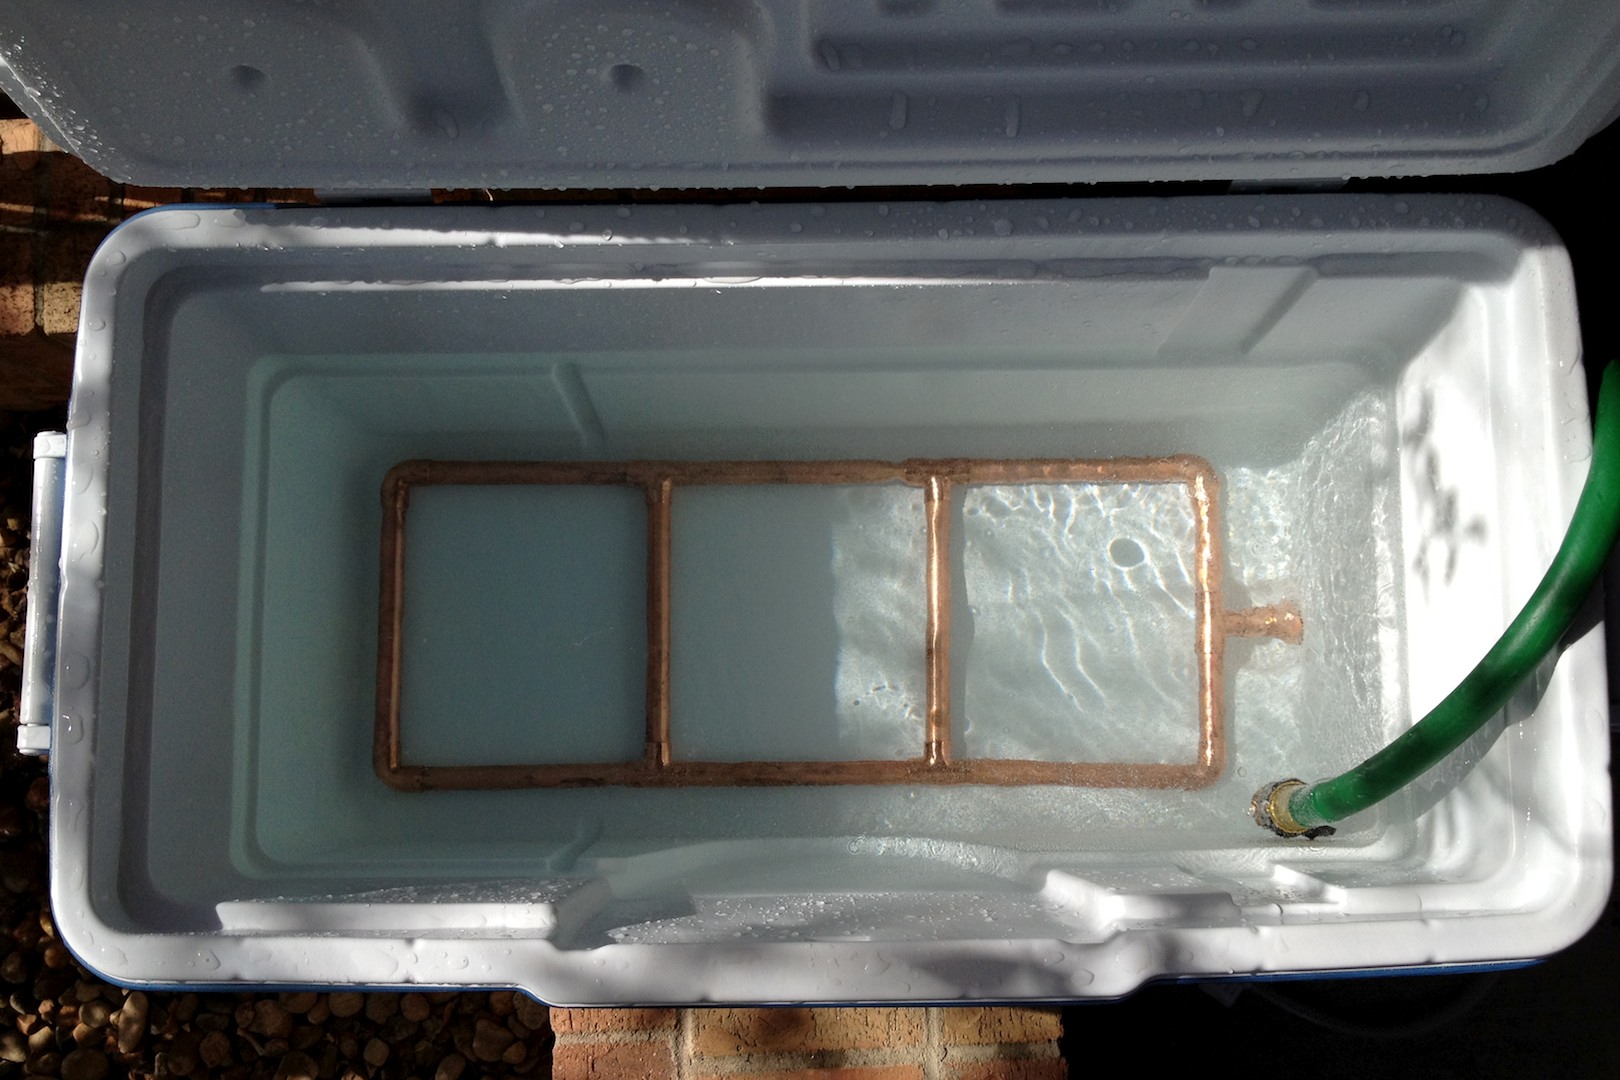
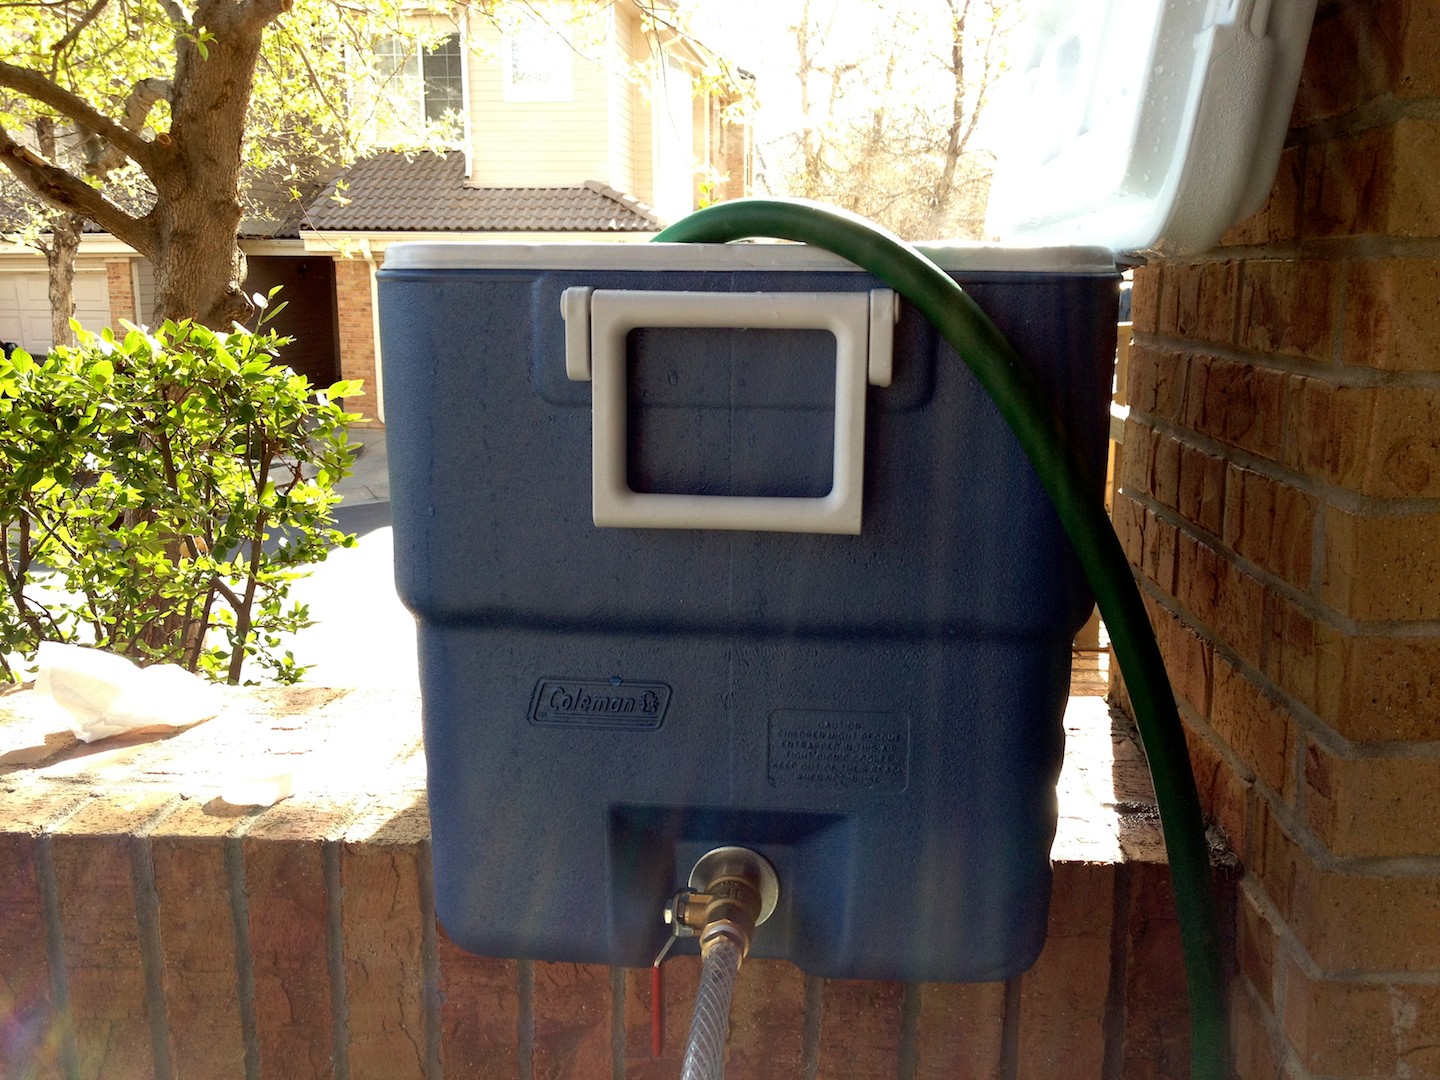
During this time the outside of the cooler never got warm to the touch except at the narrow point where the valve attaches. The valve did not leak. The temperature at the start was a hair under 122. The temperature after an hour was a hair under 120. This seems pretty good to me, and I’m excited to try it out tomorrow when I brew.
— Steve
Posted on 31 March 2012